
Building Our Home From the Ground Up -Insulation, Drywall, Stucco and Septic!
- Aug 20, 2025
- 5 min read
Kevin here! We know we’ve fallen a bit behind on our blogging—seems to be our trend lately—but this time, we have the best reason for it… DRUM ROLL, PLEASE! Kaitlyn is pregnant, and we couldn’t be more excited! Our little one is expected to arrive at the beginning of February. The first trimester brought its fair share of morning sickness for Kaitlyn, but the great news is that she’s feeling so much better now as we move into week 16 of this incredible journey.

We've had a lot going on at the house and we can see our vision coming to life. In our last blog post we covered roof dry‑in, MEP rough‑ins, and window installation. The roof is now sealed and weather-ready, HVAC ducts and electrical wiring are in place, and plumbing for showers, tubs, and fixtures has been roughed in. Windows and sliders were installed and waterproofed, bringing us one step closer to a fully enclosed, functional home. -- Need a refresh? Click the link https://www.alexcustombuild.com/post/building-our-home-from-the-ground-up-roof-dry-in-mep-s-and-window-install
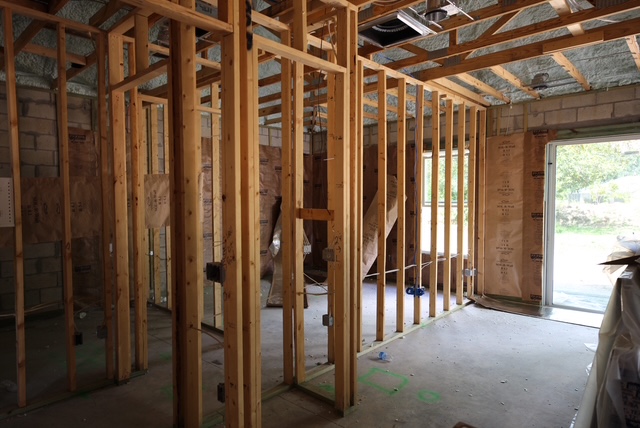
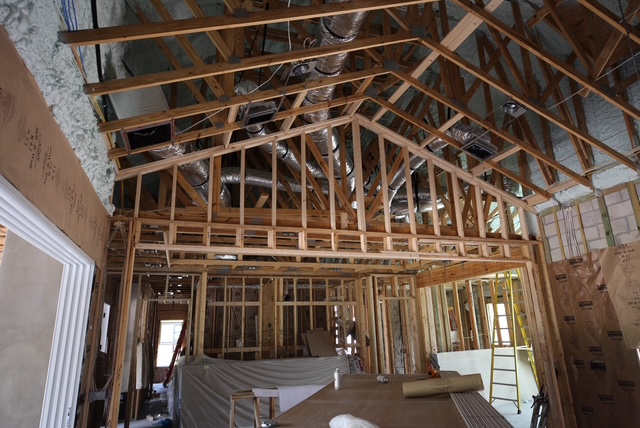
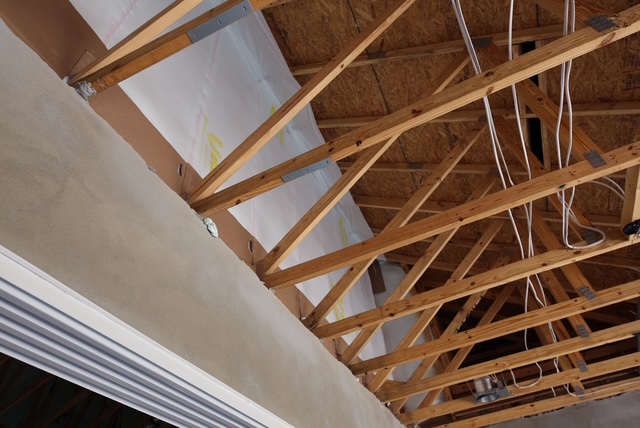
We are ready for INSPECTIONS! We call this our rough-in inspection which covers all framing, HVAC, electric, and plumbing. This covers everything so we can move into insulation. During our inspection there were a couple items the inspector wanted updated - a few small framing items and few small electric items. We had those updated, recalled the inspection for the next day and we are off to the races!
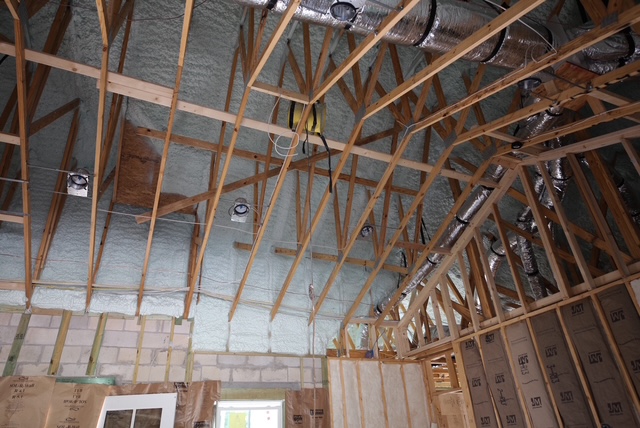
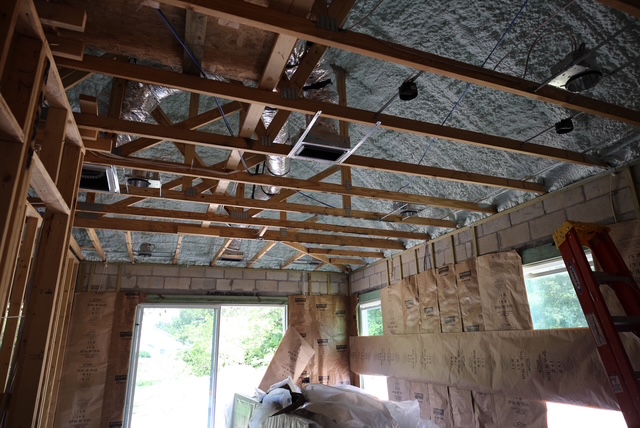
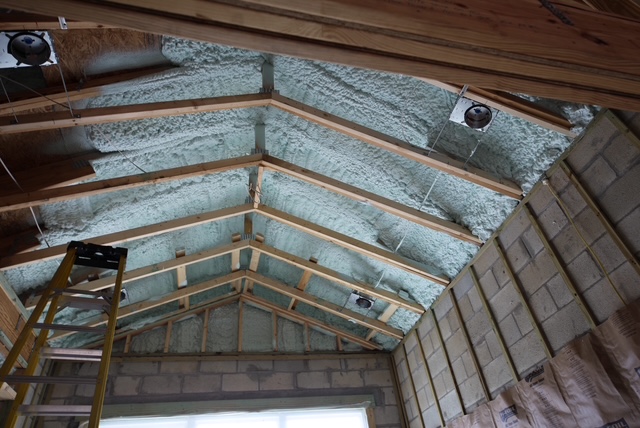
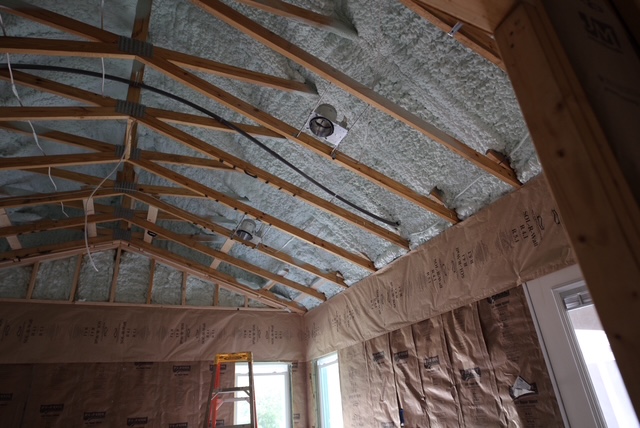
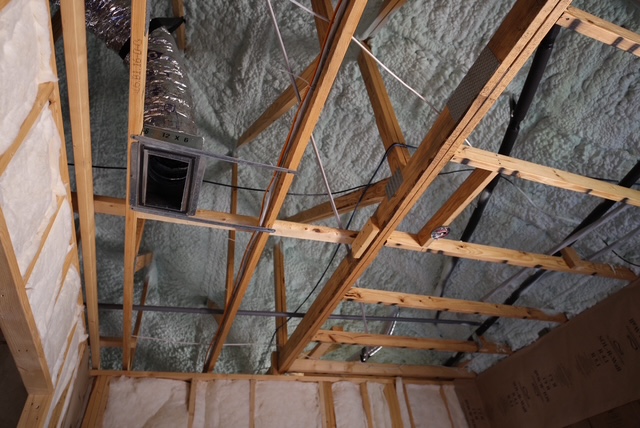
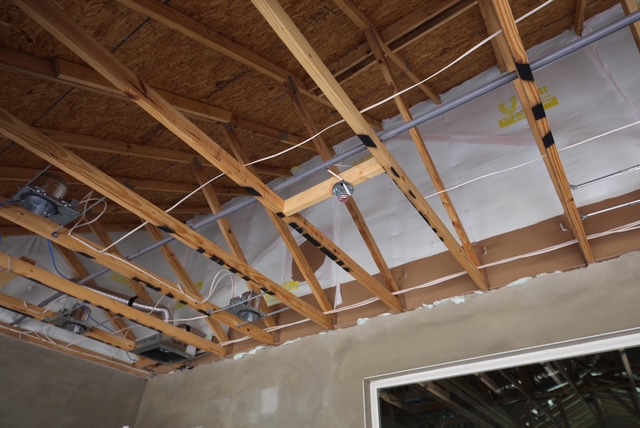
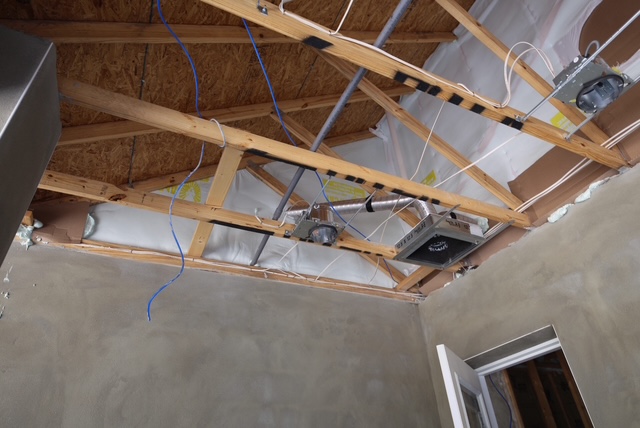
Insulation
During the permitting process we have to decide what insulation will be in the home. We picked:
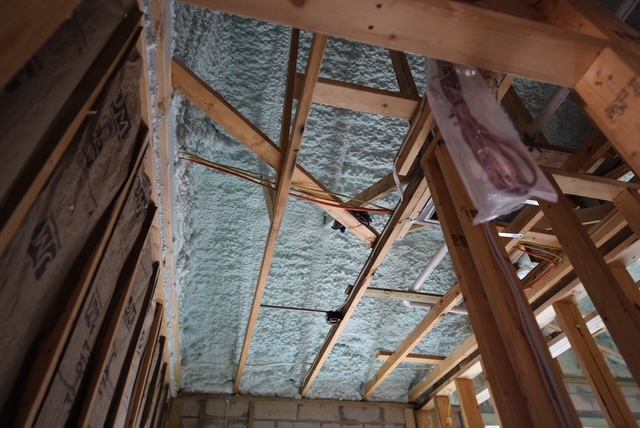
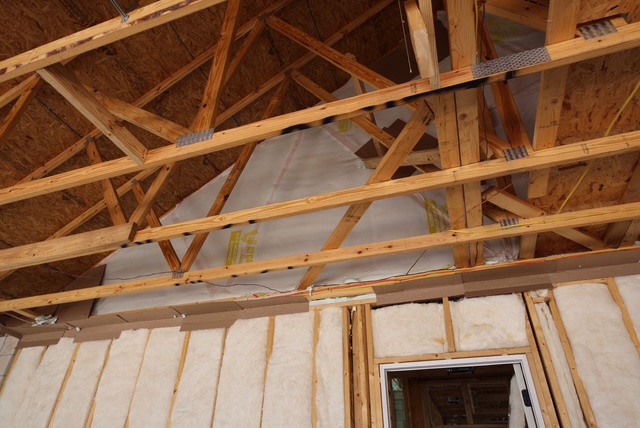
R-20 open cell spray foam at the roof deck
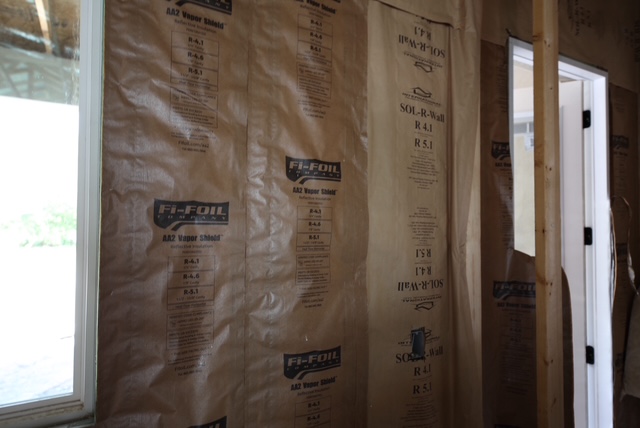
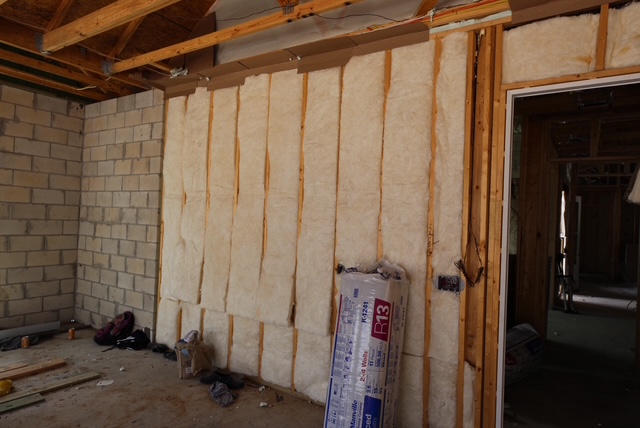
Fi-Foil at the exterior block walls
R-13 batt Insulation at the garage common walls
We also decided to upgrade and put some R-13 Batt Insulation in the walls around the bedrooms to help with noise cancelation.
Installing R-20 spray foam insulation starts with making sure the space is clean and dry, and sealing up any cracks or gaps to keep out drafts. The foam comes in two parts that get mixed together right at the spray gun and then sprayed into wall cavities or attic spaces. Once sprayed, the foam quickly expands to fill the space, creating a tight seal. To get that R-20 level of insulation, installers typically spray about three inches of closed-cell foam, sometimes in a couple of layers to build up the right thickness. It dries pretty fast, turning into a solid, airtight barrier that also helps block moisture. After it’s cured, any extra foam is trimmed if required so it’s flush with the studs.
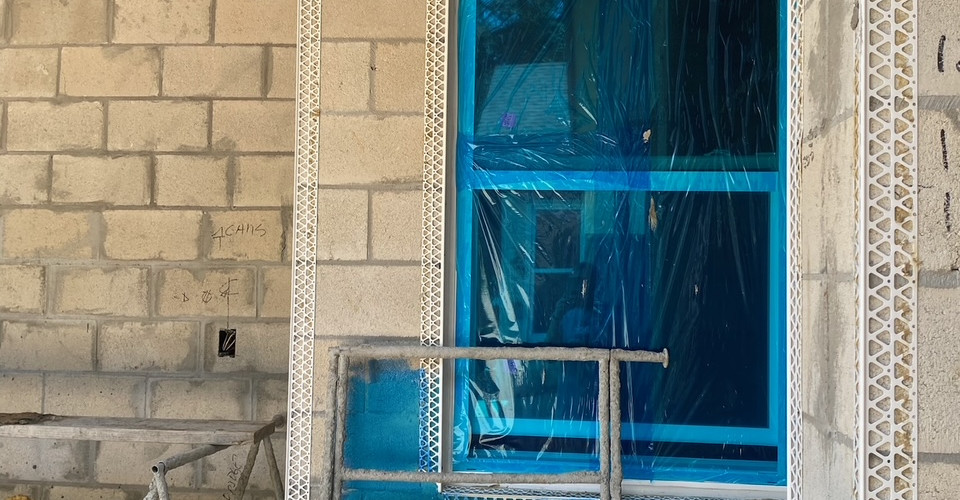
You might ask, what is Fi-foil? This is a simple radiant barrier that we install over the furring strips on the block walls to help the total R-value of our exterior walls. There are other options to install like R-Max foam board or other products. We decided to go with a little more cost effective solution due to our overall budget.


Drywall
Putting up drywall is one of those exciting milestones where the house really starts to feel like a home—and we can’t wait to see the walls take shape!
When the drywall arrives, it’s delivered by truck and unloaded using specialized equipment that helps the crew move those heavy panels safely and efficiently. Even with the machinery, it’s still tough work—especially since the sheets are often large, around 4x10 feet each!


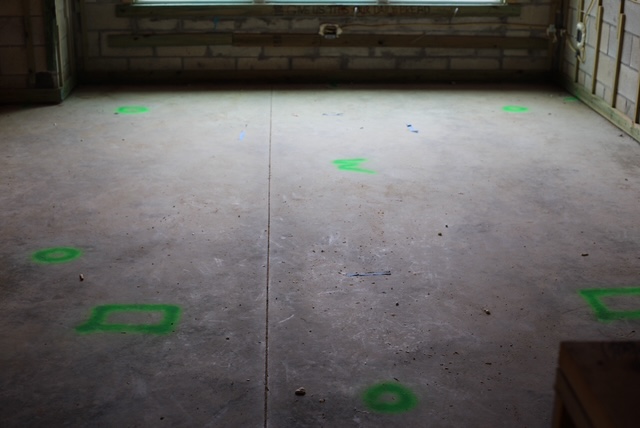
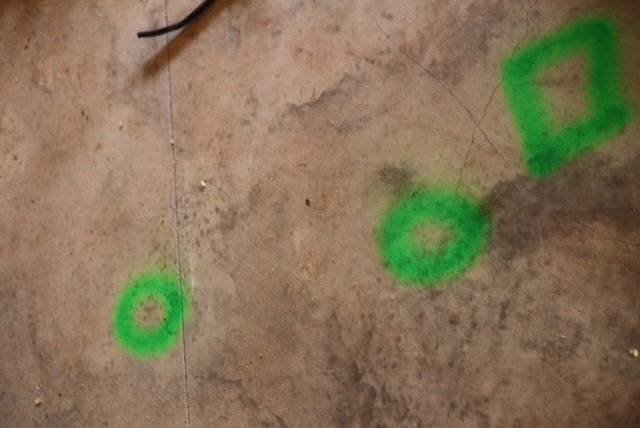
Before we begin the drywall process, our drywall superintendent makes a detailed walkthrough of the home. During this visit, they mark the locations of lights, outlets, AC vents, attic access points, and other key areas using color spray paint right on the floor. These markings act as a clear guide for the drywall crew, helping them avoid covering anything important as the walls go up. While it’s still possible for something to get missed on occasion, this step greatly reduces the chances and keeps the project moving efficiently.


As the crew gets started on the project the ceilings go up first and they usually start in one corner and work their way out. This was a pretty large crew so a few different people were working in different locations of the home. Once the ceiling is up in the particular room they are working in they start to install the walls. All drywall is screwed to the walls and ceiling by lining boards up with ceiling trusses and the furring strips on the block walls or interior studs.
After the drywall is up, the fun (and sometimes messy) part begins—taping and mudding the seams. The crew cover all the joints with tape and then apply a few layers of joint compound to smooth everything out. It takes a bit of patience because each layer needs to dry and get sanded before the next one goes on. Once that’s all done and smooth, the walls are ready for texture. In Florida the typical texture is called level 3 with "knock down" texture on the ceilings and "orange peel" texture on the walls. We went with the standard texture due to budget. Some of our customers will upgrade to level 4 and possibly 5 (each level gets smoother). Once the texture is dried we are ready for interior priming!


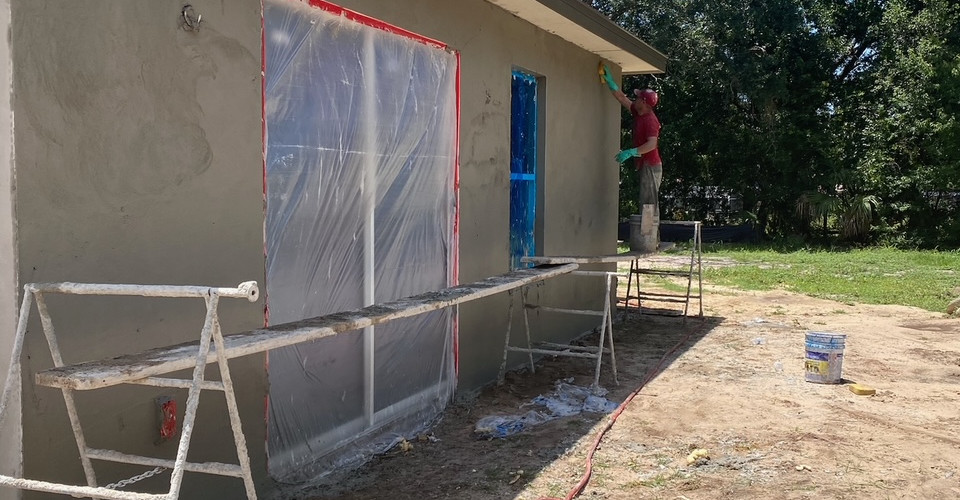
Stucco
The excitement is real—it's Stucco Day! This is one of the first big steps where the outside of our home really starts to come to life. We went with a sand finish stucco, which gives a smoother, more refined look compared to the traditional knockdown style. Stucco is a popular choice in Florida because it’s durable, looks great, and holds up well against the heat and humidity. The process starts by preparing the walls—installing lath on any wood-sheathed areas and around all corners and windows. Then, the stucco is applied in an even layer over the walls and lath, and in our case, it’s carefully sponged to achieve that smooth, clean finish.


Septic
Our home is located on a road that does not have public sewer line available (this is normal in FL). During permitting we have to apply for a septic permit through the Florida Department of Health (DOH). This requires us to use a septic testing company that will check soil types and water levels on the property that will dictate whether we have septic that is raised or level with the ground. We were lucky that our soils allowed us to not have a raised septic system! The septic system is attached to the main sewer line (green pipe) that comes out of the home. Waste water and solids from the home travels to the large concrete tank where it is held. This is where the microbes break down the solids and as the water level rises is flows into the chambers underground. Perforated pipes are laid in to spread the wastewater from the septic tank evenly. Then, the trenches get covered with soil so the system can do its job quietly underground.


Stay tuned as we move into the finish phases! Siding, tile, wood flooring, cabinets and more!
Thinking about building your own custom home? Contact us today to learn more about our process and how we can make your dream home a reality. Hit the sign-up button in the top right corner if you’d like to stay up to date on our build.


Comments